Making Maps Exercises
The exercises folder contains several sub-folders with additional
map files:
- background
- cities
- elevation
- highways
- landmarks
- mjwater
- parks
- states
The four folders that will be used for this exercise are:
elevation, states,
cities, and highways.
Exercise 1
Open ArcMap and create an empty map. Use the yellow plus
button to add in order:
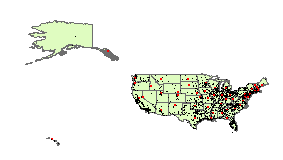
- states.shp from the states
folder
- Cities.shp from the cities
folder
Based on your experience using the Symbology
tab to color polygons based on an attribute, symbolize capital cities
in red and non-capital cities in black.
Exercise 2:
Now add:
- mjrrds.shp from the Highways
folder
- intrstat.shp from the Highways
folder
Symbolize the two kinds of roads differently and change
the symbology of the cities so that the size of the symbol reflects the
population of the city. It's faster and easier to do this if you zoom
in on a small area first so that you can see what you're doing better.
Exercise 3
Open a new blank map. Add north america
elevation with shaded relief.lyr from the elevation
folder. (When using this set of map layers, always begin with the elevations
layer (if you're going to use it) to ensure that the map projections match.
In most cases, ArcMap can mesh maps with different projection schemes
on the fly, but for some reason it has problems adding the elevations
layer to the other layers.) Expand the elevations layer to see the two
sublayers for elevation and shaded relief. Turn them off in turn so that
you can see how they work.
Experiment with other color ramps and classification schemes
until you find a simple one that you like. Add in states.shp
from the states folder and make it mostly transparent or nocolor.
Zoom in to a hilly region, add the roads layers and notice the extent
to which roads tend to be built around the peaks of hills.
|